This month’s Tips & Tricks post includes a few examples and ways you can tweak our WinForms UI components. We hope this information will be of value as you explore the capabilities of our WinForms product line.
How to Distinguish Light from Dark Skins in Code
Vector icon colors can be adjusted based upon the theme applied to a DevExpress powered WinForms app (assuming you generate vector icons based on DevExpress guidelines - see How To: Draw and Use SVG Images). If you prefer raster icons, you may want to manually implement similar behaviors. In the simplest scenario, you will need two image sets: darker images that contrast well with light skins, and vice versa. Place your images in separate Image Collections, and swap them when users change a skin. To identify whether a dark or light skin is active, call the FrameHelper.IsDarkSkin method.
using DevExpress.Utils.Frames;
//...
if (FrameHelper.IsDarkSkin(this.GetActiveLookAndFeel())) {
    //current skin/palette is dark
}
else {
    //current skin/palette is light
}
For vector skins, this method also takes the active palette into consideration. Consider our Bezier skin – for the default palette the IsDarkSkin method returns "true,” but if a user applies a light palette (for instance, "Aquarelle"), the method returns "false." Please comment below if you deal with similar tasks in your applications, and would like to have a related public API instead of the IsDarkSkin method that we use internally in our code.
Overlay Forms as Stop Screens
In v18.1 we introduced Overlay Forms - splash screens that lock the UI thread and do not allow users to interact with underlying forms. Normally, splash screens help indicate on-going operations. Overlay Forms are different in that they use custom painters to fully redraw splash screens (and even show images that behave as buttons).
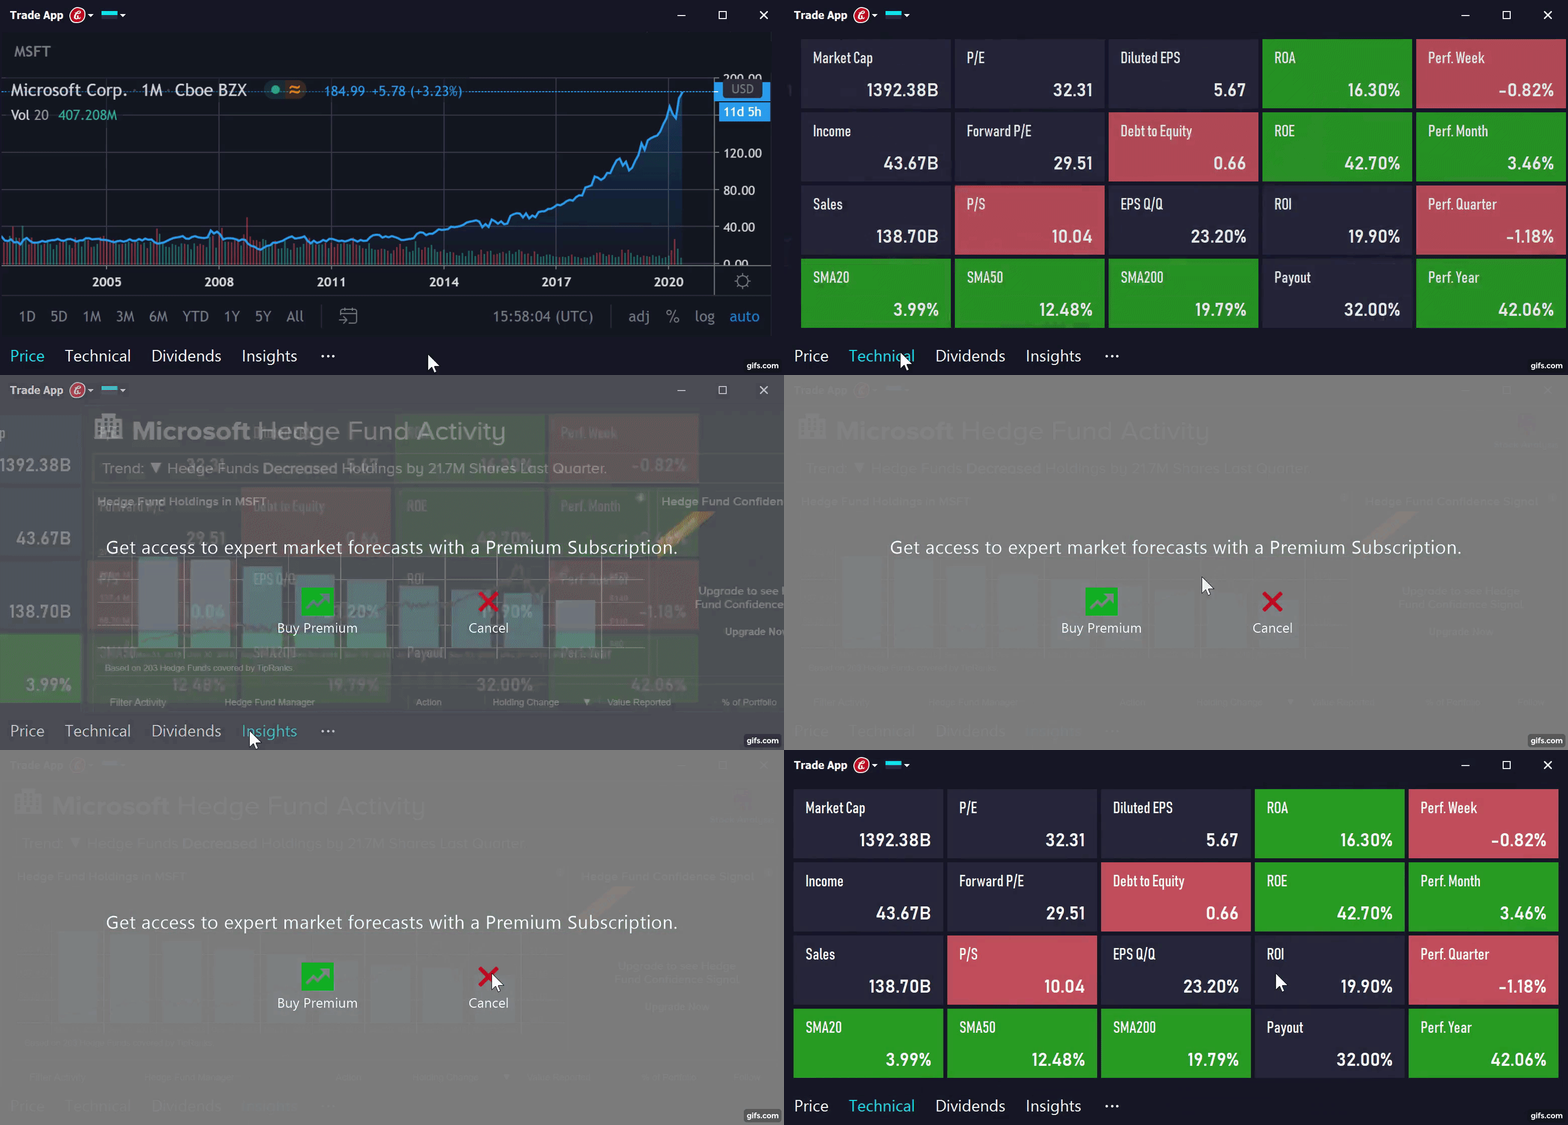
You can utilize Overlay Forms to restrict user access to specific application screens. In the animation below, our Navigation Frame includes four pages. The last page is accessible only to users with a "Premium Subscription." By using a combination of custom text painter and two image painters, you can allow users without a subscription to activate this tab - and instantly "obfuscate" it with a transparent screen that includes an upgrade offer.

Of course, you can simply handle the NavigationFrame.SelectedPageChanging event to cancel user navigation when a user does not have access permission. But as you can see, Overlay Forms can help add a unique touch and help you better communicate with end-users.
Bind Data Grid Columns to Nested Properties
If you’ve used our WinForms Data Grid in the past, you may be familiar with the GridColumn.FieldName. If you create columns in code, this property must be set to a name of a data source field. Implementation details for this property are straightforward if your data class is a flat list of properties. In real-life cases, data source classes often include properties that store objects from other custom classes. In the code sample below, each "Employee" record includes an "Occupation" field with two nested properties: "Department" and "Position.”.
public class Employee {
    public string FirstName { get; set; }
    public string LastName { get; set; }
    public Occupation Occupation { get; set; }
}

public class Occupation {
    public DepartmentEnum Department { get; set; }
    public string Position { get; set; }
}

public enum DepartmentEnum {
    RnD = 1,
    Support = 2,
    Design = 3,
    TW = 4,
    Management = 5
}
To generate a standard (non master-detail) Grid and display "Employee" entities, you need to add four columns and set correct FieldName properties. For the first two columns it's simple: FieldNames are "FirstName" and "LastName". However, it may be less obvious (especially for novice DevExpress users) that the two other columns can be set just as easily. Specify these columns in the same way you'd access properties in code - type a parent property name, the dot character ("."), and the child property name.
GridColumn colFirstName = new GridColumn() {
    Caption = "First Name",
    FieldName = "FirstName",
    Visible = true
};
GridColumn colLastName = new GridColumn() {
    Caption = "Last Name",
    FieldName = "LastName",
    Visible = true
};
GridColumn colDepartment = new GridColumn() {
    Caption = "Department",
    FieldName = "Occupation.Department",
    Visible = true
};
GridColumn colPosition = new GridColumn() {
    Caption = "Position",
    FieldName = "Occupation.Position",
    Visible = true
};
gridView1.Columns.AddRange(new GridColumn[] {
    colFirstName, colLastName, colDepartment, colPosition
});
Prevent Form Load Flickers
The default form initialization engine displays a form as soon as it's ready. Child controls and skin bitmaps are loaded after the form is already visible. This behavior - common to both Microsot and DevExpress forms, - may lead to flickering. The bigger the child control, the longer it will take to load (and the more pronounced the flicker). If you notice this issue in your app, override the form's ShowMode property:
protected override FormShowMode ShowMode {
    get {
        return FormShowMode.AfterInitialization;
    }
}
The AfterInitialization value sets initial form opacity to zero. When a form and its child items are ready, opacity is restored and the entire form is displayed simultaneously. Note that this tweak has no impact on child MDI forms since these forms do not support Opacity.
Hide Layout Control Items
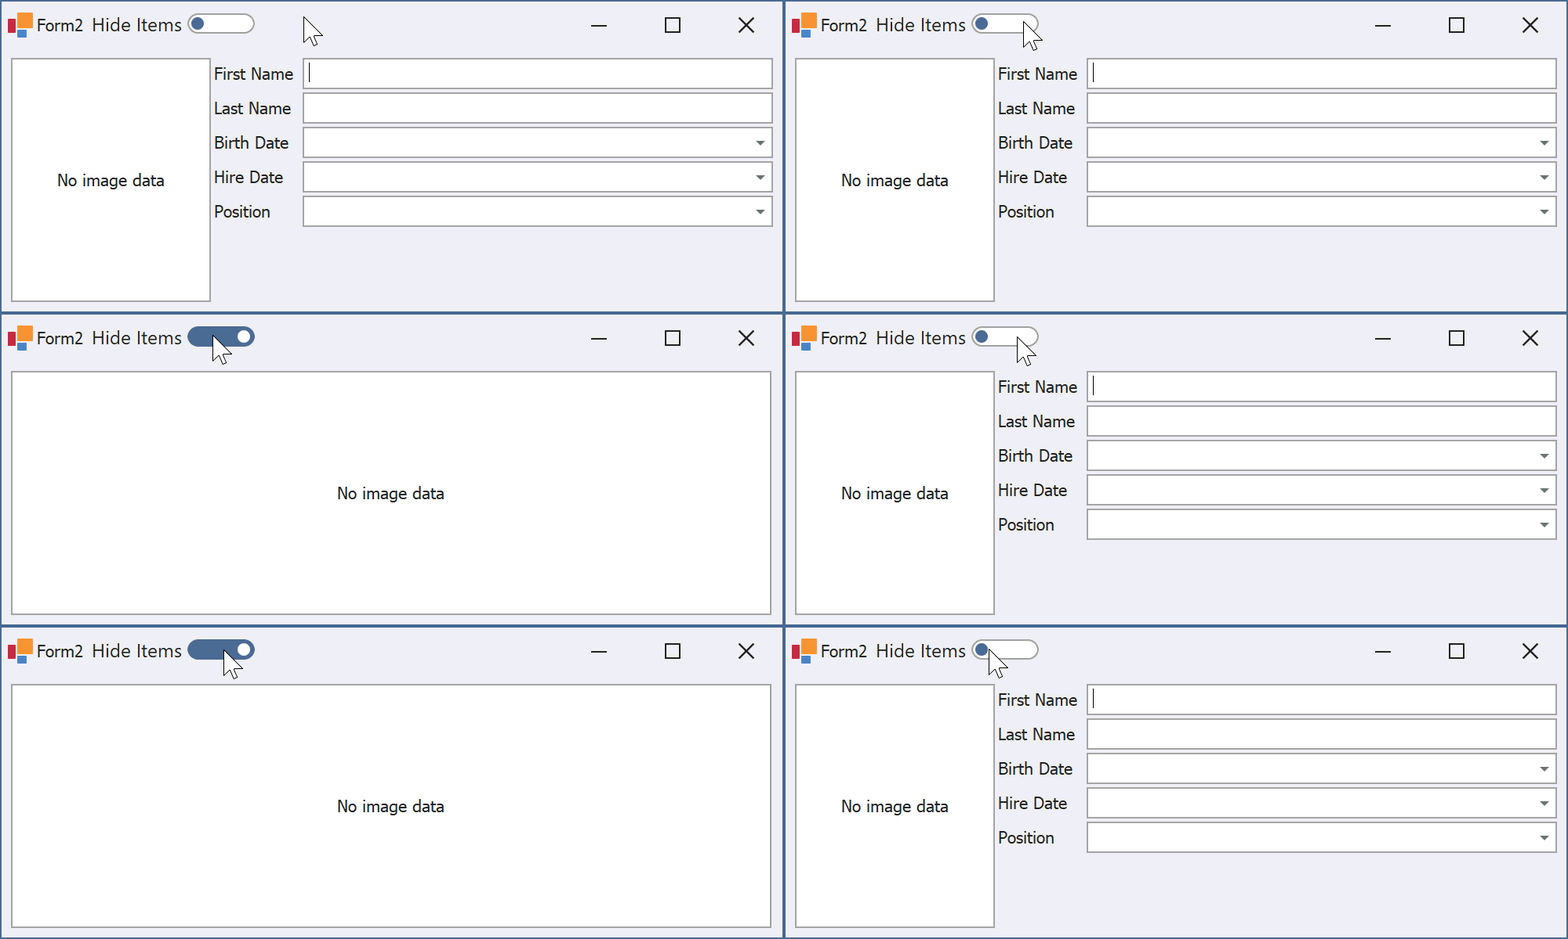
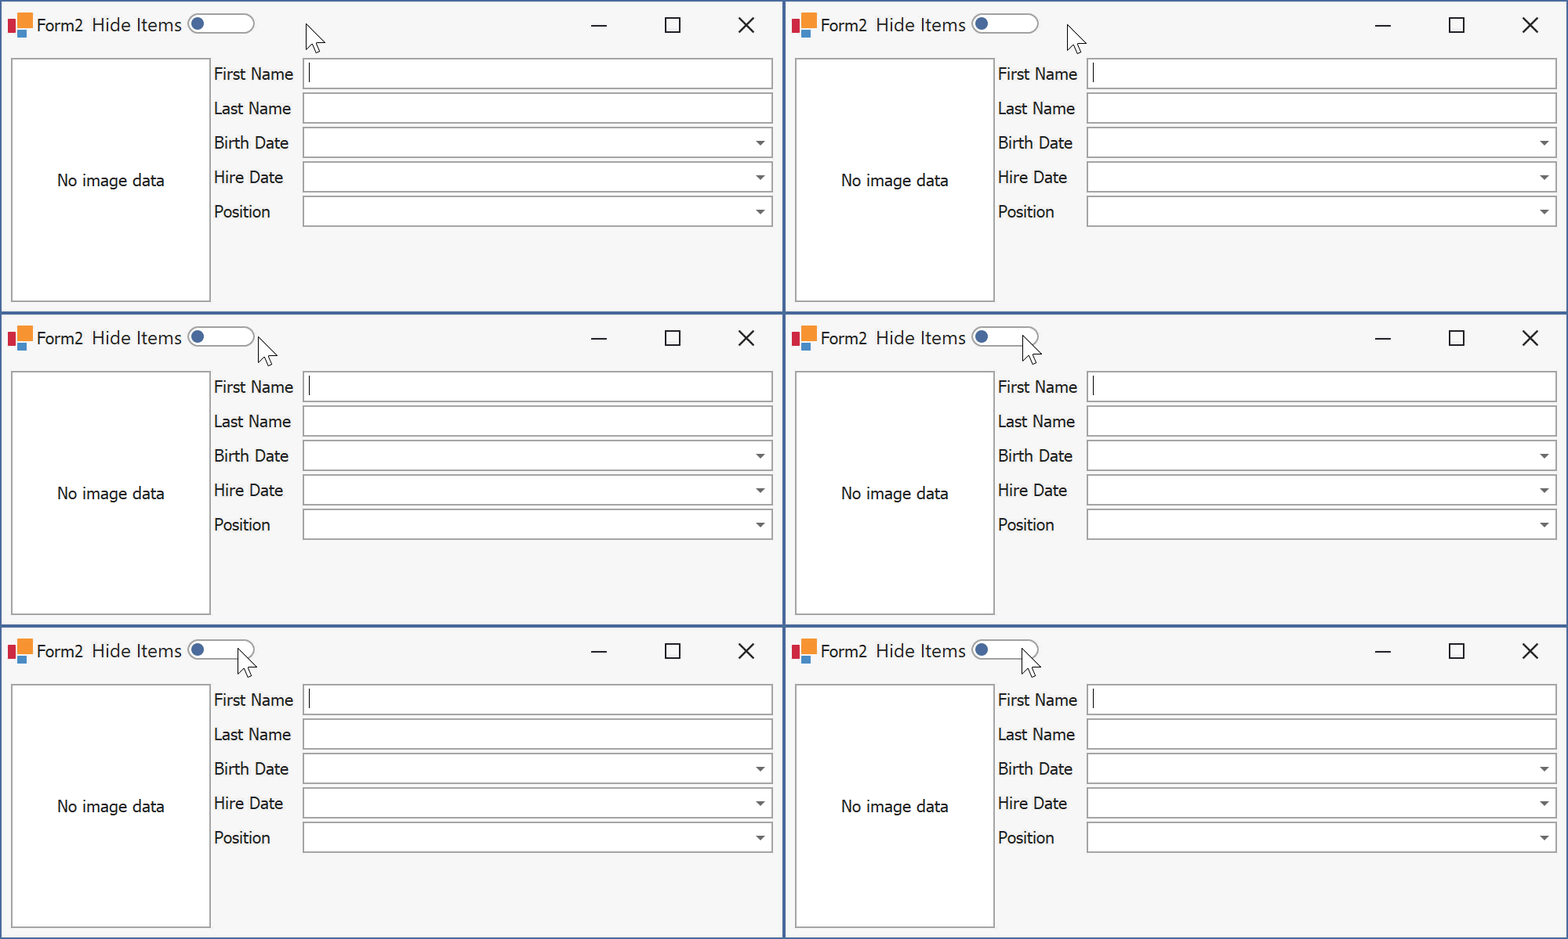
Developers who need to display and hide Layout Control items in code often use the BaseLayoutItem.Visibility property. Changing this property from Always to Never does the trick, but remaining layout items automatically resize to occupy free space.

If you do not want Layout Control items to resize automatically, use the Boolean ContentVisible property instead.

Feedback
As always, we welcome your thoughts and comments. Should you have any questions about these examples, feel free to comment below.